Friday, December 17, 2021

Gingerbread Christmas Bakery - a Custom Dollhouse Part 4

 The 2021 Gingerbread dollhouse is done! This year I had a request from Darby and Francesca for a little bakery/candy shop. Great idea girls!

This was a fun project. The end product is so whimsical and full of joy. It's just an awesome dollhouse to make. 
This is a 1/12 scale dollhouse. It measures about 15 1/4" tall x 10 1/8" across the front x 11 1/4" deep before adding the "icing."


All the little candy came from Hobby Lobby. Some was Christmas tree ornaments. Some come from the jewelry department. I usually start collecting candy early on in August.  
The icing is made with light weight spackling paste straight from the hardware store. It's piped on with disposable pastry bags and pastry tips.  Apply the candy into the spackling paste while it's still wet and let dry completely overnight. I also us candy moles for trim. You can use anything to fill those including sparkle, caulk, hot glue, silicone, resin…. anything you are comfortable using will work.


To add a little more sparkle and whimsy we use this plastic fake snow called Buffalo Snow. You can also use glitter.


This little wooden display cabinet case is from Miniatures.com. I had this feeling from the beginning telling me not to tempt it myself. Sometimes you just have to listen to that little voice. I am really happy with this piece. It's filled with a variety of cakes and baked goods. 


The cupboard is a piece from Hobby Lobby. I liked the style and I knew it would be perfect behind the counter. I painted it green and also with other little Christmas details. 


That's the Bakery!  I hope you enjoyed following along. And that you will try one of these gingerbread dollhouses too. They are really a great project at Christmas time.  
Thank you again Darby and Francesca. I hope you will love your new dollhouse! 
Merry Christmas!


Thursday, December 16, 2021

Gingerbread Christmas Bakery Custom Dollhouse Build Part 3

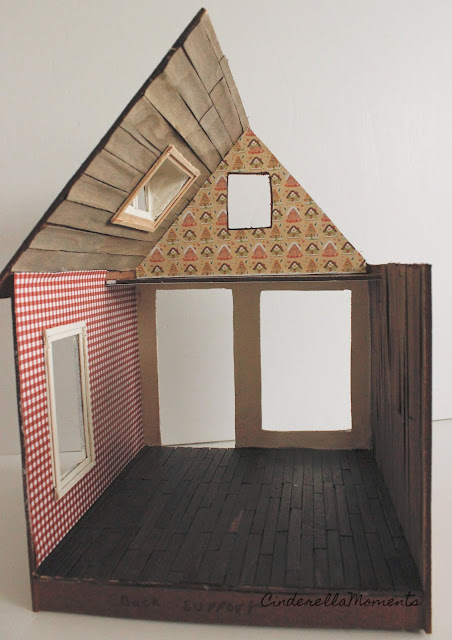
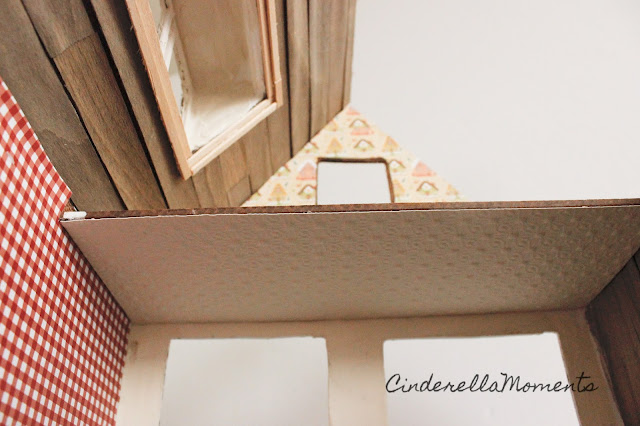
 Part 3- I have been working on pieces for the interior of the bakery all along. 


For the exterior I've added little bits like a cardboard piece that will be a step. You can use wood for this. But it really doesn't matter since it will all be covered up. 
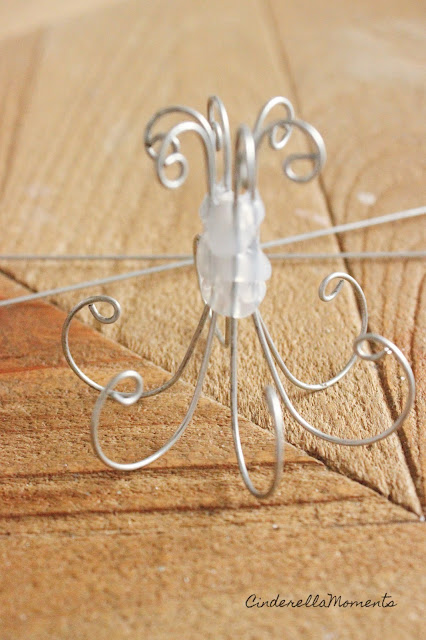
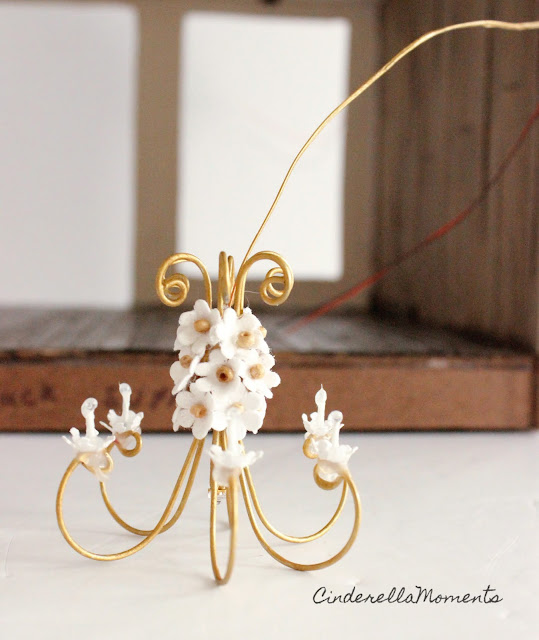
The fireplace is done the same way. At this point all the wiring is in place. Use a little dot of hot glue to tack the wires in place. This insures they won't move around when you put your sparkle or plaster on. 
Now it's time to cover everything up. First we are doing the "cookie" part. I prefer to use spakling paste. Any brand works. This stuff is at your big box home improvement store. 
I use a cardboard box to elevate the house. It's easier to apply the sparkling at the bottom of the walls this way. Apply 1st coat all over the house.
I am applying 2 coats of sparkle. Make sure you let the 1st coat dry completely before applying the 2nd coat. If you don't your plaster/spakling will crack.

This is an up close photo of that front step to show you how thick your 2 coats should be. 
You want the sharp corners covered and rounded off. 
Next, The whole exterior gets painted with a cookie color. It's applied so that the edges are a little darker like it was baking in the oven. As you apply your main color have a little bit of dark brown on hand. Before the paint dries you want to blend some of the darker color in. It is seamless and looks multidimensional. 
Next, I'm adding more trim made from candy molds. They have been pre painted in cream. 


For the icing, you need light weight spakling, a disposable pastry bag and pastry tip. Then just pipe on your icing just as if you were decorating a cookie.

The candy I will be using is all Christmas decorations.  They will get stuck onto the spakling icing before it dries. Some will be hot glued on also.
The next post will be the completed house. Thanks for following along!


Friday, December 10, 2021

Custom Christmas Gingerbread Bakery Dollhouse Build #2

Welcome to part 2 of the Gingerbread Bakery dollhouse build. This is a project I am making for Darby and Francesca who are loving watching the process. 

The next step is adding color and wallpaper.

First, the wood walls and the floor got a brown wash. The floor's wash had 2 coats which made it look darker than the wall. It also got a coat of varnish for a little shine.
I found 2 different wallpapers I loved for this project.. The first is the red gingham I found in the scrapbook section of the craft store(Hobby Lobby). Then looking through my stash I found the gingerbread house paper I had printed out from the internet a while back.
The look I'm going for in here is very cozy, warm , old world space. 
Under the loft, I applied a textured sheet of tin tile. This is the one you get in the miniature section of. Hobby Lobby. It is a plastic sheet you can cut to any size.
It can be painted and finished any way you like. For this project I painted it cream. 
Now, the ornate trim is the next step. This trim looked just like whipped cream! You can make these trims yourself using candy moles. 
I have also made my chandelier from 18 gauge wire, a long bead and hot glue.
And here it is painted and with little flowers applied to the center. I use a light kit from Evan Designs: https://evandesigns.com/products/miniaturist-lighting-package
I'm finishing up the details inside. The rest of the trim, a light where a counter will be...


Also the door and window I will be using got a coat of cream paint. 
Thanks for coming by! Part 3 is coming soon!