Monday, July 18, 2011

The Shabby Chic Cupcake Shop Dollhouse

I worked on  the outside of the cupcake shop today.
I applied the plaster to the front and one side.
 This is carved concrete. It's a very thin coat and does not weigh a lot.
Then I painted everything with a base coat of cream.


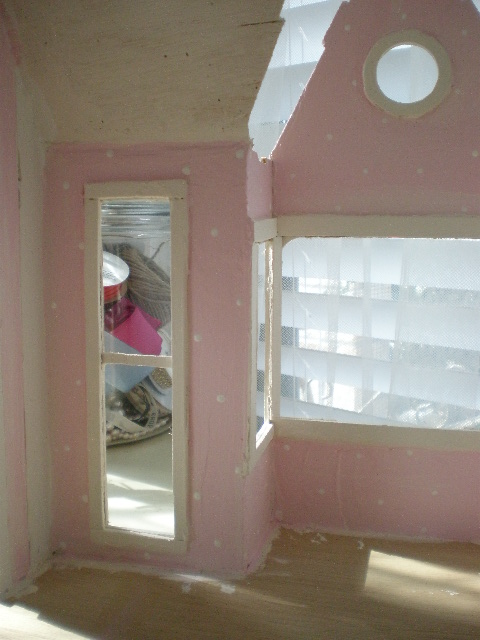
Inside I kept going with the trims. I trimmed the bay and added baseboards.

I also painted a cupcake painting to put above the fireplace.

Saturday, July 16, 2011

The Shabby Chic Cupcake Shop Dollhouse

A little more progress on the cupcake shop.
First, I finished the white plank ceiling. So shabby chic!
I tinted the wood floor with a very watered down golden brown and sealed it.
I made the door and added the lace curtain. It's pink, hard to see in the picture.

I painted little cupcakes in some of the windows.


Cupcake shadows!
Also so cracks appeared on one wall. It must have happened when I put the roof on. I love them. I mean what shabby chic wall would be without a couple of cracks? Will see if Marlyn shares the same love for them. Otherwise I'll fix them.
I'm still working on the chandeliers. Those take forever! And the base boards are still needed. Then it's all about the outside!

Thursday, July 14, 2011

The Shabby Chic Cupcake Shop Dollhouse

I know you're thinking Cupcake Shop? Where's Cinderella's Cottage. Little change of plans. Cinderella will have to wait a couple of weeks.
Marlyn contacted me a couple of days ago with a shabby chic cupcake shop dollhouse idea. She had seen this picture of the shop Little Miss Cupcake and loved it.
So I doodled a little design and started this shop. I used the Buttercut kit. I made the changes I wanted. I changed the door from the middle to the left and made the front window into a 3 sided shop window and another tall window on the other side.


Here I glued the walls to the floor(the roof is just resting on top). I started off by trimming all the new windows and door.
I plastered and painted the front wall and one side wall. I used a very happy pastel pink.
I made the stripes by first scoring the damp plaster. It turned out so well! It looks like a wide plank wainscoting.
I painted the other wall and put a wainscoting at the bottom.
And I painted some white dots on the all pink wall.
I wanted to print out some wallpaper from the internet. But to make it the right proportion I would have had to do so much photo shop. So I decided just to hand paint the roses. It was faster than messing with the computer and editing. I used pink, red, hot pink, cream and light green.
Voila!
Instant shabby chic roses wallpaper! I made the little mantle from left over wood.
I made the floor with pine Popsicle sticks.
This is the bay window on the side of the house. I made a Fleur de Lis design, but it's really hard to see here. The walls are cream and the window trims and ceiling  gray.

Wednesday, July 6, 2011

New Project: Cinderella's Fairytale Cottage


I think my new project will be Cinderella's fairytale cottage. Not your average Cinderella though as you can see from the bed I already started above. I want to make her an amazing little retreat to get away from those ugly step sisters and horrid step mother.
Here's my plan:
We'll see if I stick to this plan! Sometimes these little houses have a mind of their own. This is how all my houses start out. I get this idea and it goes into a notebook. Those are my idea days! Sometimes I can't come up with a vision to save my life. But this little cottage came into my head. So I write down everything while the picture is in my mind.
I decided to start on some accessories. I got a dress form done to put the famous Cinderella dress on in the attic of the house. I started my pumpkins and the bed is nearly done.
Here's my drawing of the bed. As you can see this is not going to be the "poor" Cinderella version of the story.
I gathered my materials: batting and cardboard. I cut the footboard and headboard out of the cardboard the size that would fit the house.
I used a white cotton twice the size of the headboard/footboard and started my little tufted stitches.

I just closed the sides by making little corners like I was wrapping a gift..
This is how it looks so far.
It has a white fur comforter. This Cinderella has snazzy style!
I still need to put feet on it and add finishing touches.

Tuesday, July 5, 2011

Cupcake Tote Bag

I'm still in a bag mood! And this cupcake bag just came out of nowhere! I sat down to paint roses, but it wasn't a rose day. Instead this little cupcake popped onto my canvas!
I added some glitter on the icing and put a little bee buzzing around. I added a burlap ruffle and a twine and red satin bow.
Here's the back of this bag.
Whimsical I think!

I'm also kicking around a new idea for a dollhouse. A cottage of course with fairytale ties. More details later!!