My newest dollhouse is The Old Country house. This is a 2 story custom house built from scratch.
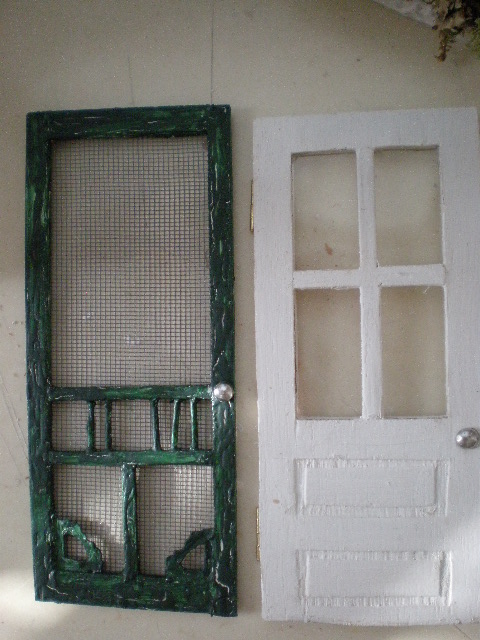
On this house I used a ready made door and 2 ready square dormer windows. All the other windows are custom. This dollhouse is 19 1/2" tall(including the chimney) x 13" wide x 14 3/4" deep.
The colors are a light taupe for the siding with white trims and a light grey roof. The chimney is concrete.
I am including mailboxes on all my houses since I made the trailer! I just love them. I also made a little crate and 3 flower boxes.
The underside of the porch turned out fantastic with the planks looking all weathered.
And this porch has a swing. I had not done a swing in quite some time.
The battery and switch and hidden in the chimney.
The siding is birch.
There is only one coat of paint on the siding. It gave a marvelous vintage look with the grain of the wood showing through.
The chair is my own creation. As it the little wooden table, chandeliers, rug, clay houses, paintings, box of photos.
The stairs are purchased.
I also purchased this little metal table from the fairy garden department at Hobby Lobby. The little chair that comes with it is on the porch. The box of photos is something I saw on Pinterest. Easy to do!
This is a pie cabinet sold at Hobby Lobby. It comes in a brown finish. I stripped off all the varnish and repainted it white, aged it with brown ink and finished it off with random grey paint streaks. The dot paper I used in the door is a translucent paper from Michael's Craft store(scrapbook).
The ceiling is scrapbook textured paper which has been aged with a brown ink pad.
This is the area in front of the stair landing. Super aged, super vintage!
Upstairs I made a bed, a bench a clay house and books. The nightstand is a purchased piece. I removed 2 drawers for a more rustic look.
All the curtains are sprayed with hairspray so they stay perfectly in place and draping like real curtains.
The chandelier is crystal seed beads. You can find the tutorial by clicking the tutorial tab at the top of the page.
These little benches are easy to make and add tons of character to a room.
I made a messy bedding this time. My last house had the bed perfectly made. Someone has already jumped in this one to read a book. :)
I made these 4 sketches of villages and sealed them with modge podge.
That's my dollhouse! I am listing it on Etsy.(cinderellamoments.etsy.com)
Thank you so much for your company! I hope you have a wonderful day.